Repurposed Changing Table Into a Desk!
BEFORE!
I hacked a changing table into a desk!
Is it totally un-modest to say that I am really proud of this repurposed changing table project?? Because I am really proud. Not only did I bust out my RYOBI circular saw, but I also didn’t let many pieces go to waste.
AFTER! – Repurposed Changing Table!
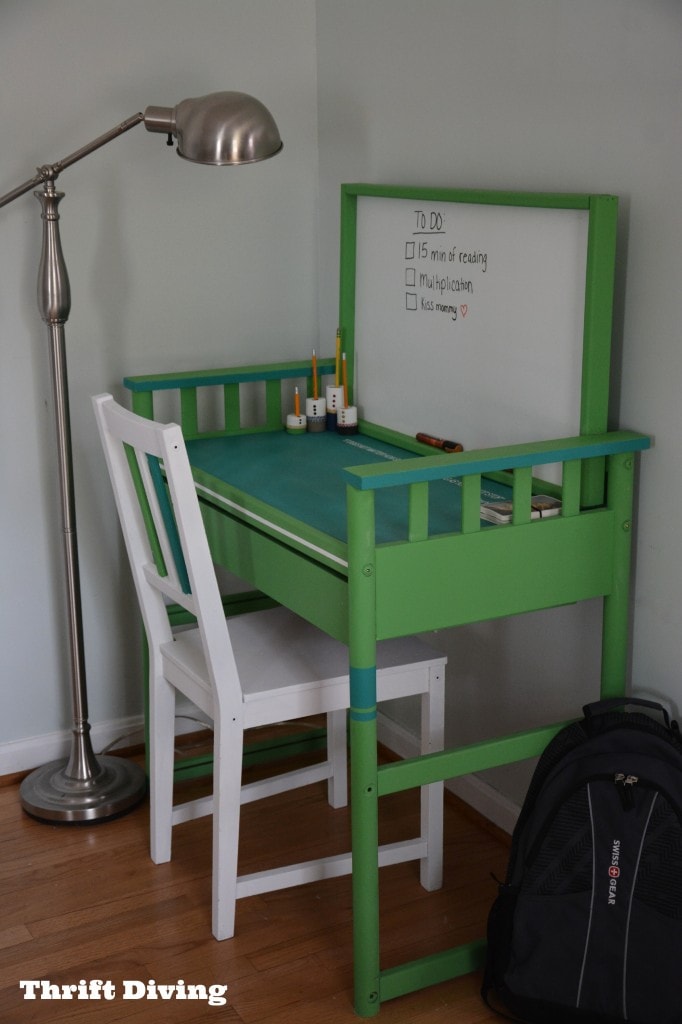

This is how the changing table sat for the last year: taking up space in an abandoned room that will someday soon be fixed up. And you see that old chair? I made that over, too, with a fresh coat of white paint. I found that next to a dumpster alongside my ombre dumpster desk!
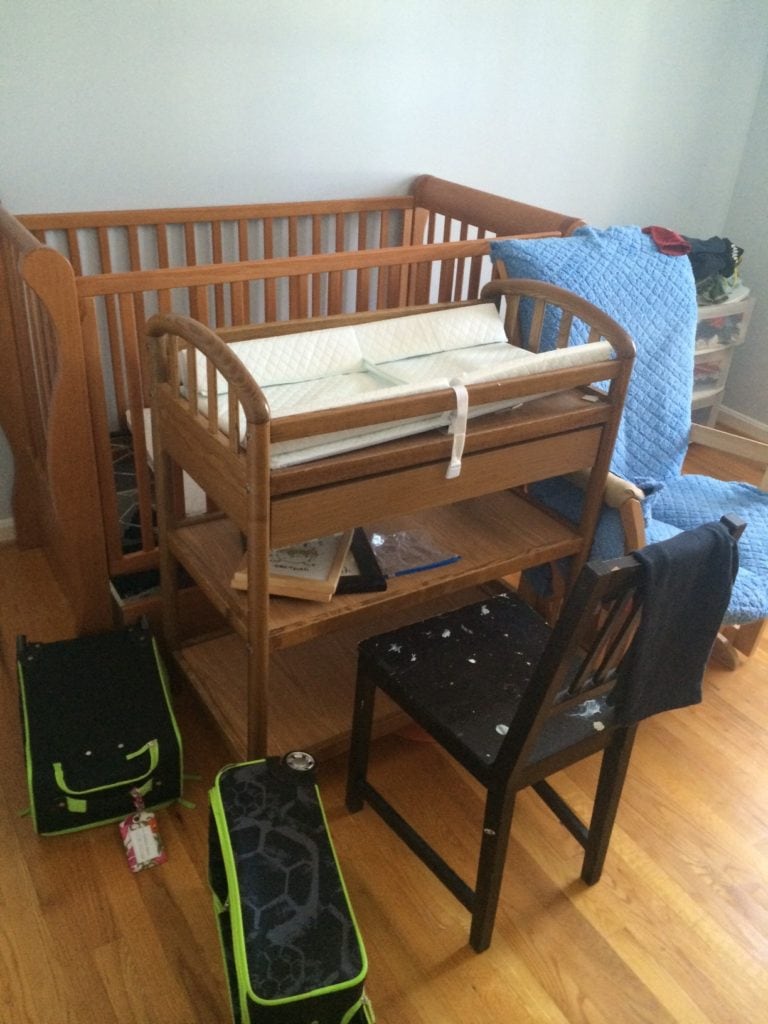
How to Repurpose a Changing Table!
Don’t you hate spending a lot of money on stuff for kids? They outgrow it so quickly! Especially changing tables. Once they start rolling over after 4-5 months, that changing table is obsolete–at least, for changing. You have to either sell it or repurpose it.
I vote for repurposing 🙂
Materials Needed to Hack a Changing Table
(I participant in the Amazon Services LLC Associates Program, an affiliate advertising program designed to provide a means for me to earn fees by linking to Amazon.com and affiliated sites).
- Changing table (check thrift stores if you don’t have one from your child)
- Circular saw or jigsaw (for shortening the change table to desk height).
- Gorilla Glue
- Brad nailer (or hammer and nails)
- Furniture paint (check out my post What’s the Best Paint for Furniture? for tips on choosing a good furniture paint)
STEP 1: Removal the changing table shelves
I had to remove the shelves so there was space for a chair and legs. I also did a preliminary coat of Annie Sloan Chalk Paint in Antibes Green to see if I would like it, per my 7-year old’s color suggestion. LOL 🙂
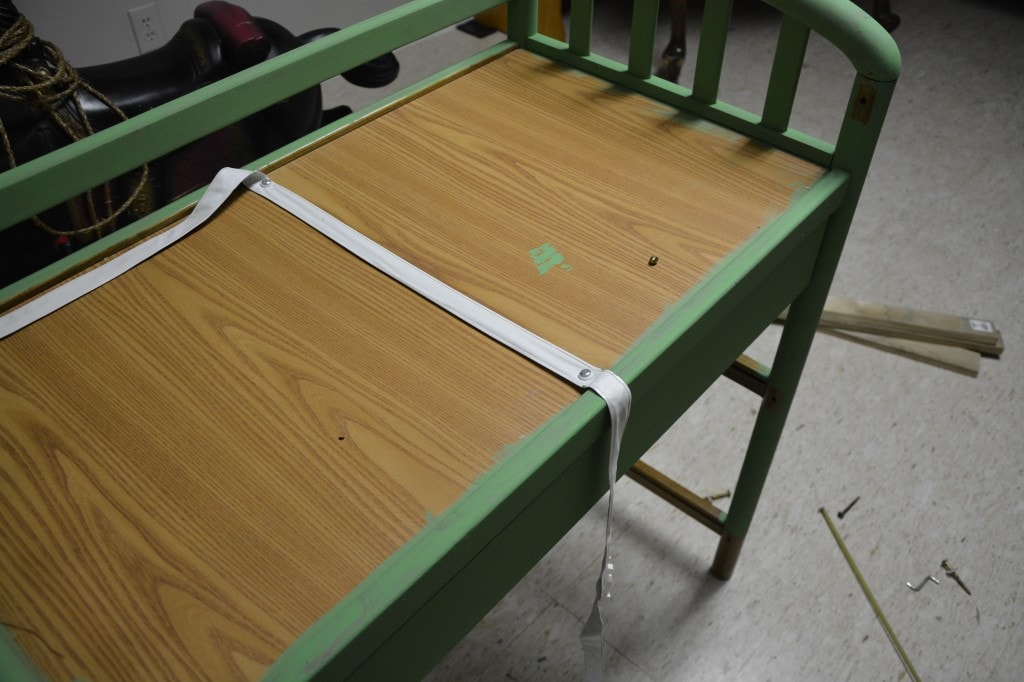
STEP 2: Reinforce the Top of the Changing Table
I knew I would need to reinforce the repurposed changing table top as a desk because it was a cheap, thin particle board. I decided to use this board below as a reinforcement. I had found the board in a stack on the side of the road. Hubby complained about me stopping to pick it up, but when you see FREE BOARDS, you.do.not.keep.driving. You haul that stuff home!
I used some of the other boards to reinforce the back of my French Provincial Desk makeover. So you see, dear hubby???
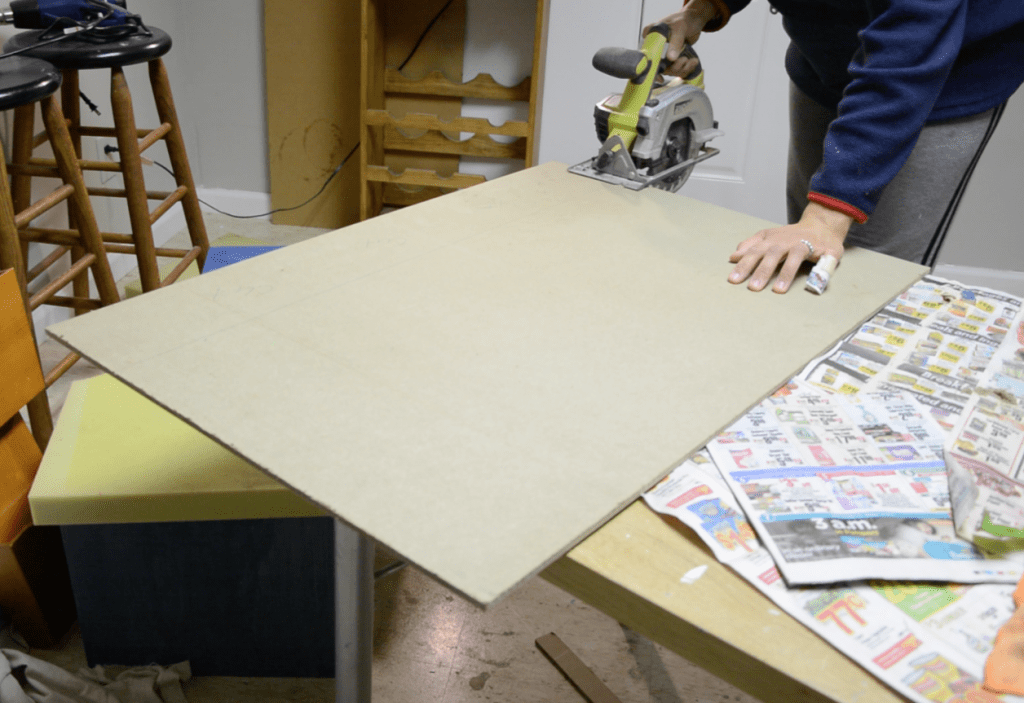
(And oooooohhhhh….how I LOVE my RYOBI circular saw that I scored at the Haven DIY bloggers conference! It’s super easy to use, and I love how interchangeable the battery is with other One Plus RYOBI tools. Yeah. THAT circular saw….. LOL. This face is no lie–I really DO get that excited about power tools! I’m not much of a girly girl. Sorry!

I painted it in Annie Sloan Florence. OMG….THE.BEST.COLOR.EVER. Hands-down, my favorite color.

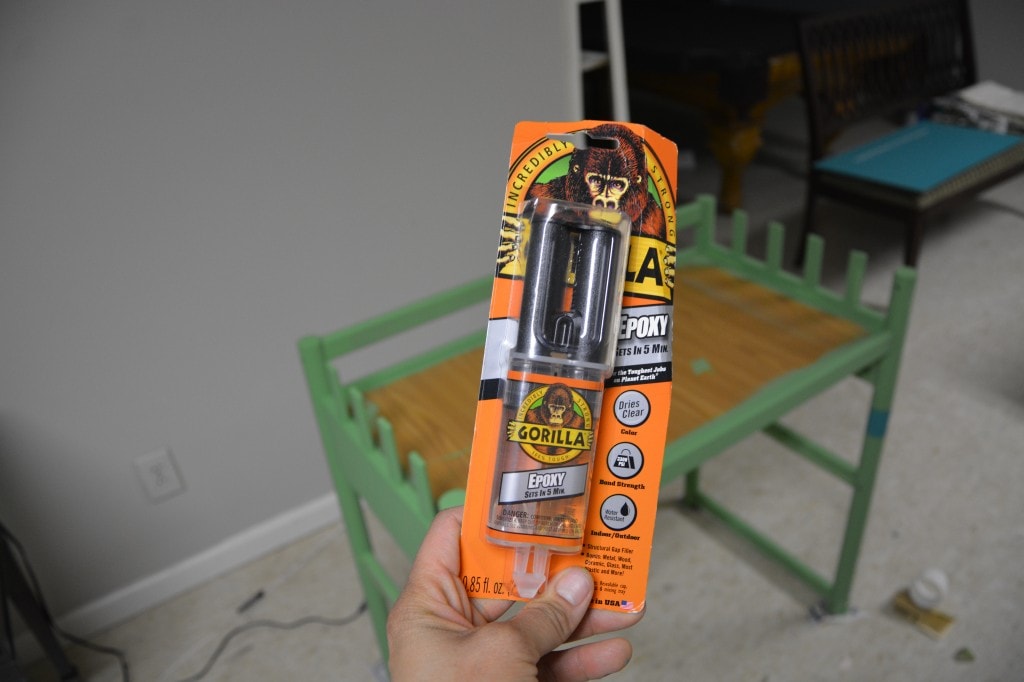
I used Gorilla Glue Epoxy to glue the reinforced piece to the repurposed changing table top.
STEP 3: Cut down the legs.
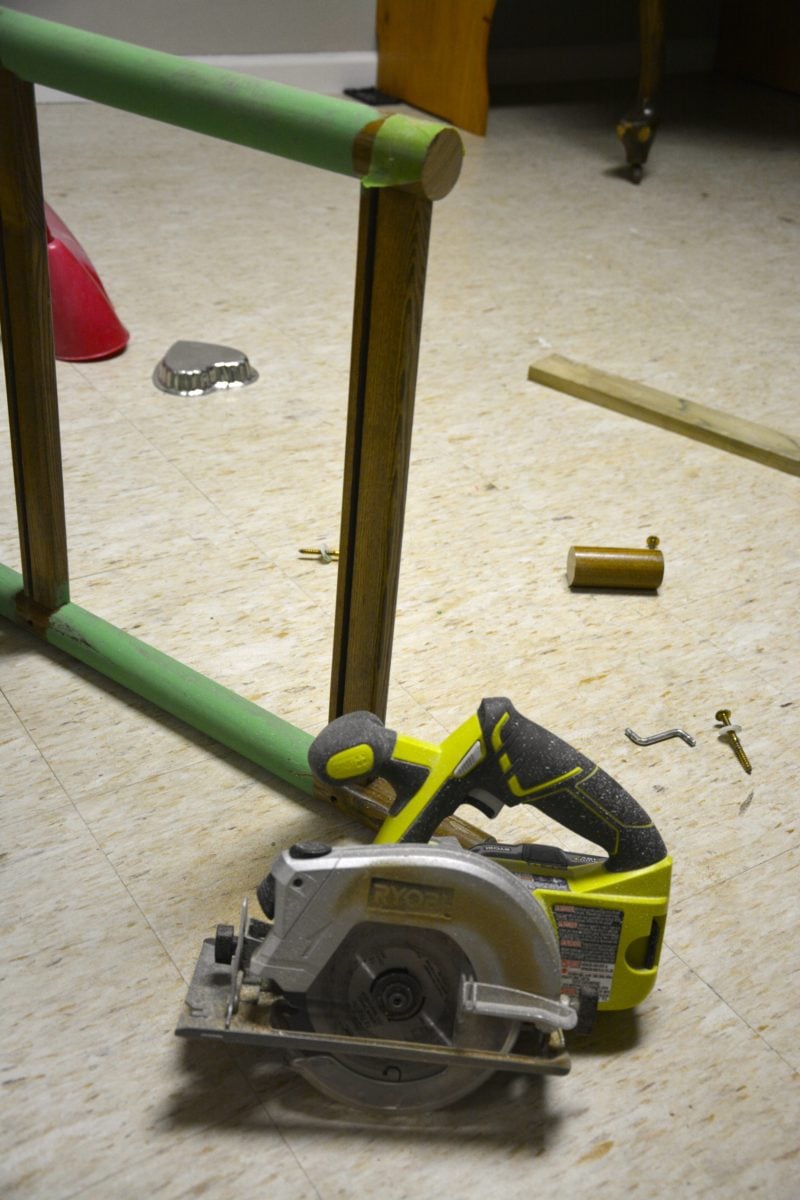
To turn this repurposed changing table into a desk, it needed to be shorter. I taped off the end (so that I could use the edge of the tape as a guide for straightness) and cut off 3.5″.
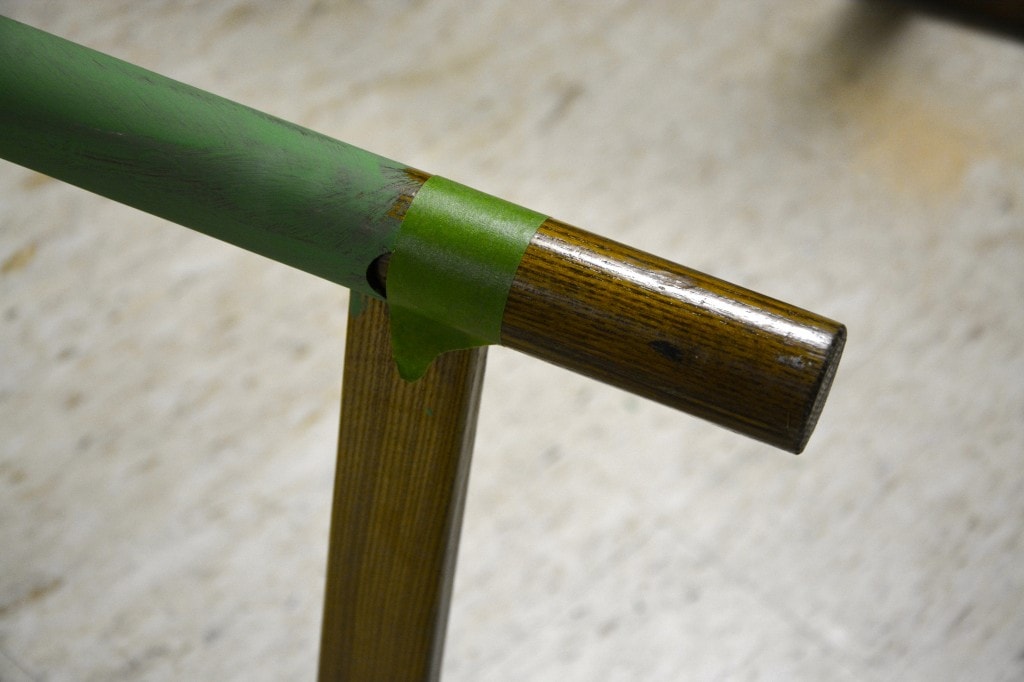
Again, my circular saw came in handy.
But I could have used a jigsaw as well.
STEP 4: Upcycle the scraps into pencil holders!
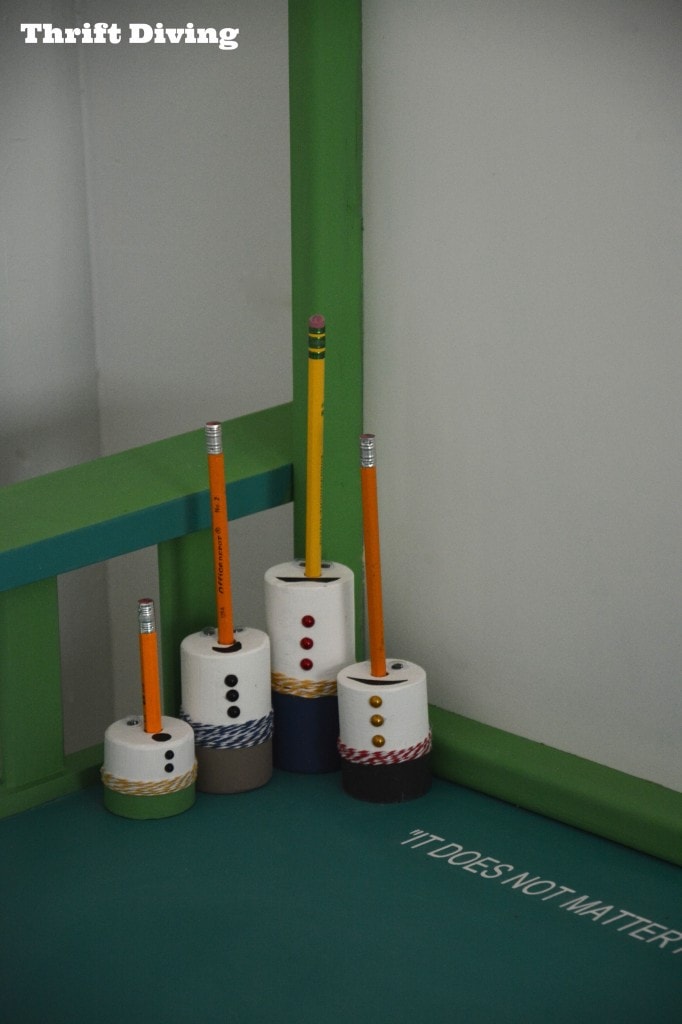
I saved those 3.5″ scrap wood leg pieces and used them to make the cutest little DIY Snowman Pencil Holders 🙂
STEP 5: Cut off the sides that “look” like a changing table.
I couldn’t decide whether to keep or cut off the curved sides of the changing table. I didn’t want it to look like a changing table, and those rounded edges screamed “BABY FURNITURE!” to me. Nope. Buh-bye!

I had some of this scrap wood from God-knows-where lying around, so I decided to use it to cap off the edges. No more rounded edges! 🙂
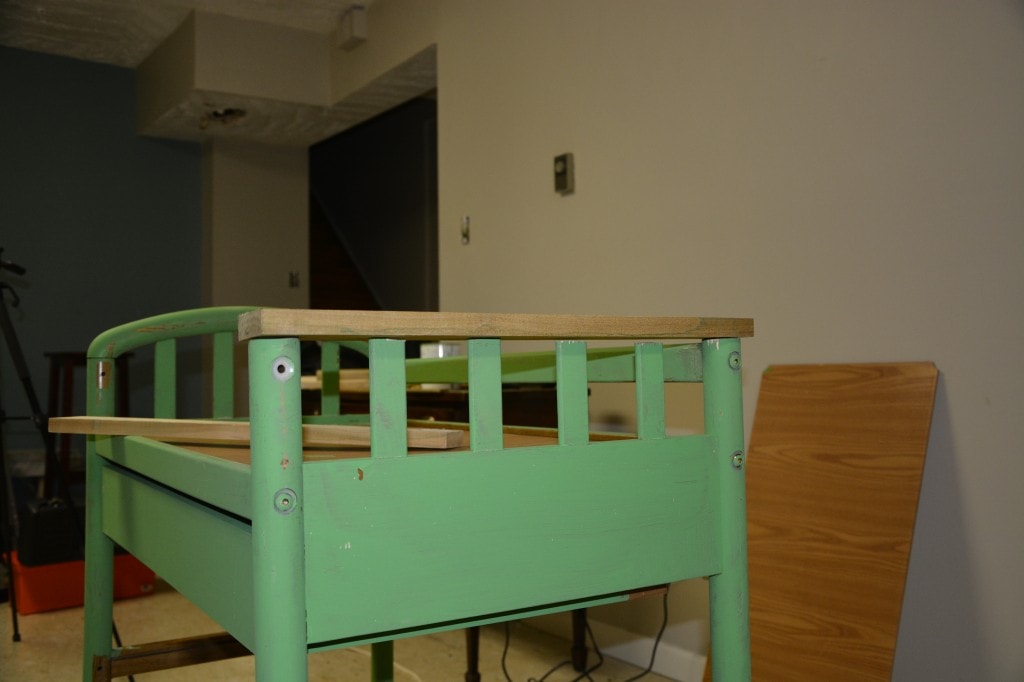
STEP 6: Use the BOTTOM shelf of the changing table for a whiteboard.
Before I had a minivan, this is how I lugged furniture home from the thrift store. Well, notice the bottom of the shelf bottoms. THEY’RE WHITE. And not only white but they’re vinyl-y, like whiteboard material! I got the genius idea to upcycle one of the bottom shelves as a whiteboard, if I just flipped it over, then used my nail gun to adhere it to the back of the repurposed changing table! LOVE THAT!
BEFORE

AFTER – DIY WHITEBOARD
And remember the post I did recently about making a drawer organizer out of scrapbook paper? I added one of those DIY drawer organizers inside for the kids, too. 🙂
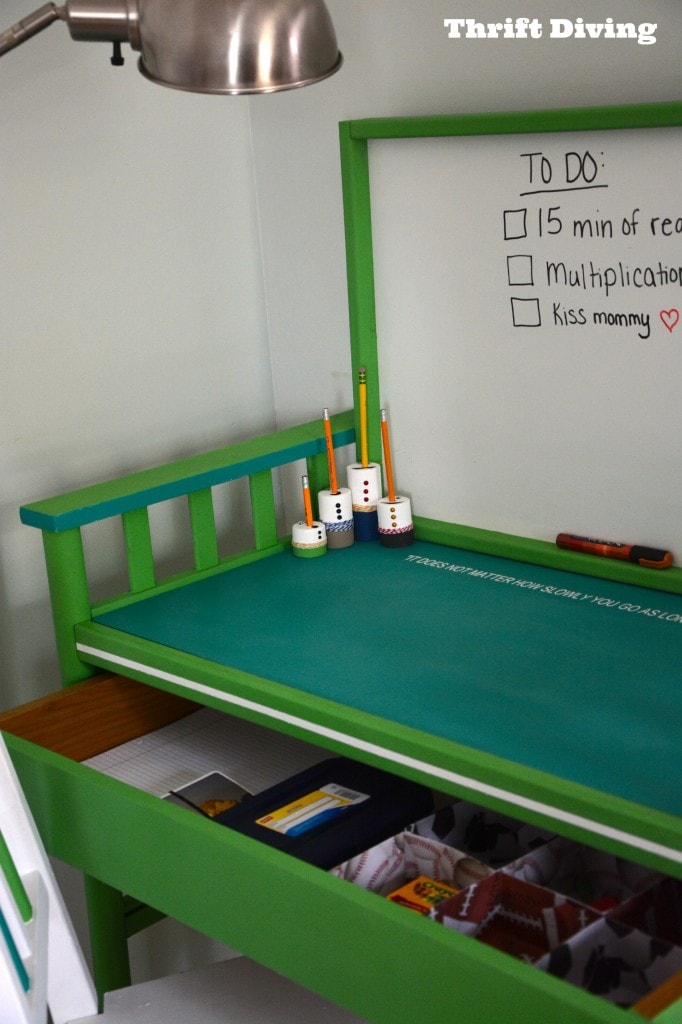
STEP 7: Find an inspirational quote and stencil it on.
I’m obsessed with this idea of hanging inspirational quotes around my house, in the hopes that my kids will read it repeatedly and it will just, well….sink in. So I found an awesome quote by Confucius, the Chinese philosopher. I used my Silhouette Cameo to cut it out. Considering that this is a desk where my kids will do homework, I want them to be inspired when they’re being challenged:
“It does not matter
how slowly you go as
long as you do not stop”
~ Confucius
BEFORE

AFTER
Here’s the stenciled quote after:
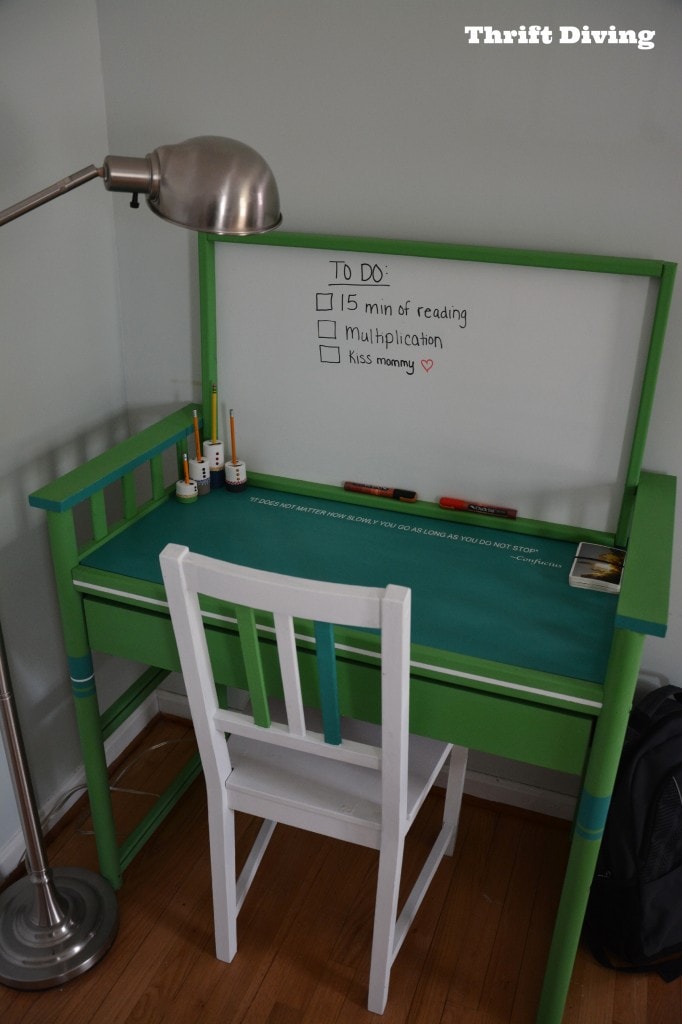

My oldest son loves it! And it’s so nice having a place for him in my reading room where he can sit and do his school work!


COST
So you may be wondering how much this repurposed changing table me. Well, considering that I didn’t actually need to go buy anything to do it–IT COST ME NOTHING! But if you want to get technical, the changing table was $12, the paint was probably about $5 (if not less). The Gorilla Glue Epoxy was free (got it at the Haven conference). The Pencil People did require me to buy some googley eyes for them, and some twine, but they weren’t part of the desk, so they don’t count :). So…. you do the math: CHEAP! But cute!
Time
This project took me 4 evenings. It could have taken less time, but I was puttering around with all the nitty-gritty details, trying to see if “this” would work or “that” would work. It was time well spent, however!
Difficulty
I would say this is an intermediate project, only because you’ve got to use power tools to cut the legs and some other pieces of wood, in order to make them fit.
So what do you think??!!
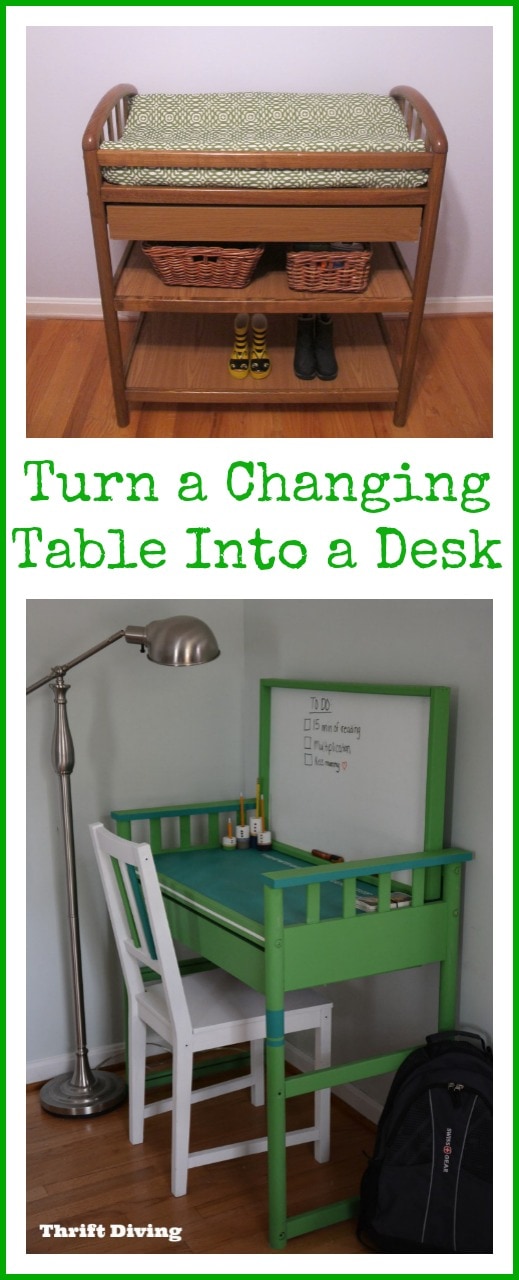
If you like this project, you may like some of my other desk/table projects! 🙂
So what do you think of this repurposed changing table? If you’ve got some additional ideas for repurposing a changing table, please leave a comment and let me know!
Original article and pictures take https://thriftdiving.com/turn-changing-table-desk/ site
Комментариев нет:
Отправить комментарий